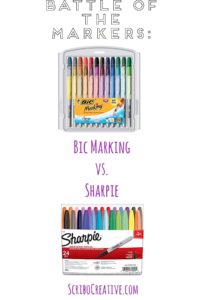
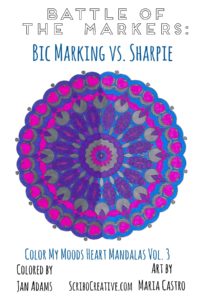
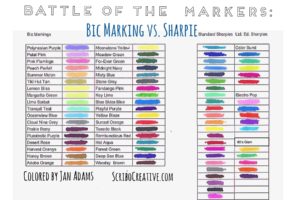
The first two sets of markers I bought for adult coloring books were Bic Markings and Sharpies. These two are probably the most popular marker brands among colorists but which one is better? I’ve included my two cents at the end of the article but we’ve also asked the talented Jan Adams to share her views about this battle of the markers. Here’s what she has to say…
In a world filled with different types of coloring mediums, I’m sure most people have a favorite coloring tool. My go-to coloring medium is markers and, within that, Sharpies and Bic Markings are probably my favorites.
There are many similarities between the two brands:
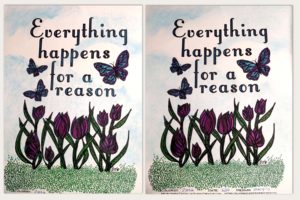
1. Both are alcohol-based markers. They color very smoothly, but will bleed. They are not suitable for use in double-sided coloring books and may require a piece of card stock placed under the coloring page if the paper is thin. Both types work very well on card stock and in books with thicker paper.
2. They are also both relatively inexpensive. I typically purchase my Sharpies at Staples because they normally have sets of 24 for about ten dollars. Wal-Mart is generally a little more expensive except during back-to-school sales. That’s when they have a set of 21 for 10 dollars. The remainder of the year the Sharpies will be around fourteen to seventeen dollars there. Bics are usually cheaper to order from Amazon. A good percentage of the year the 36 packs will be around twelve dollars. I have never seen them higher than twenty-three dollars at Amazon. I have not seen the 36 set in store at Wal-Mart, but it is possible some stores may carry it.
3. Both are also available in both fine and ultra-fine versions. This is very helpful when an image has both large spaces as well as smaller, intricate areas in the same design. It is possible to match the colors with the varying tip sizes.
4. One last commonality is the ability to buy single replacement markers. I personally haven’t bought them this way, but it is nice that this is an option. Individual Sharpies are available at most hobby stores, such as Hobby Lobby, and office supply stores like Staples. Bics can be ordered from the Bic website https://www.shopbic.com.
Now for the differences:
1. I suspect the most important difference for a number of people would be smell. While Bics have a slight odor, Sharpies have a very strong smell. If you are worried about the odor I would recommend buying a single black Sharpie (sold almost everywhere) and making sure that the odor is not offensive before buying a set. Singles of Bics are not readily available in-store, but Wal-Mart sells a set of twelve for a reasonable price.
2. The only other difference that I see between them is the variety of colors. Bics come in thirty-six colors, although you can buy smaller sets, and include quite a few pastels in that collection. Sharpies generally come in sets of twenty-four or less and do have limited release sets of five colors from time to time. They do not have much in the way of lighter colors.
To sum up, I don’t see one set as preferable to another.
If you can afford it, my recommendations would be to buy both brands of markers. If not, I would think the deciding factor might come down to which colors you prefer to use. Either way you will get a great set of markers for the money.
—
Jan’s correct–the strong odor of Sharpies makes me more partial to Bic Marking. I’m sensitive to odors in general and when I color with Sharpies, I’m not able to do so for a long time without getting dizzy from the smell. But I also know of some colorists who actually like the smell of Sharpies. So take Jan’s advice and see or rather, smell for yourself. ?
Shopping list:
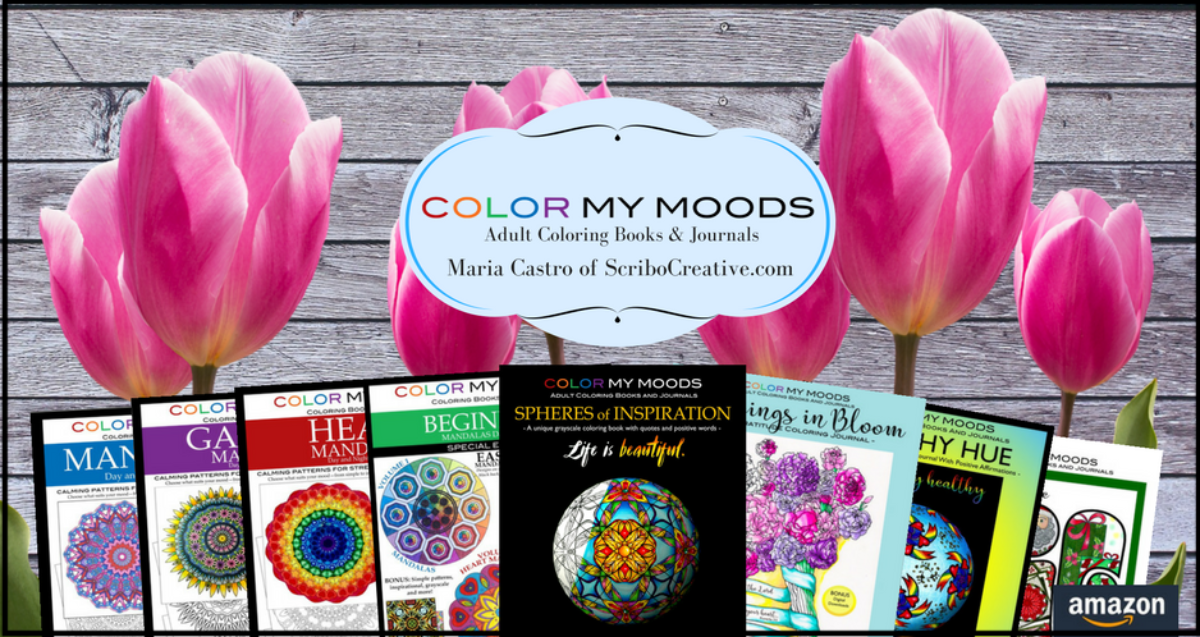
Maria Castro of ScriboCreative.com is a participant in the Amazon Services LLC Associates Program, an affiliate advertising program designed to provide a means for sites to earn advertising fees by advertising and linking to Amazon.com.

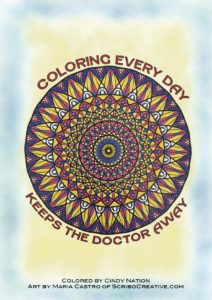
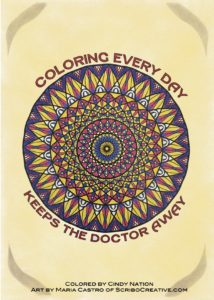
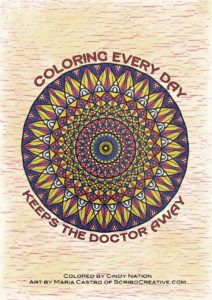

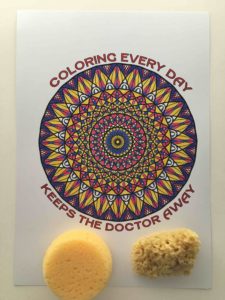
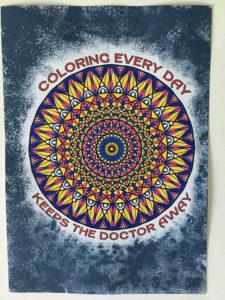

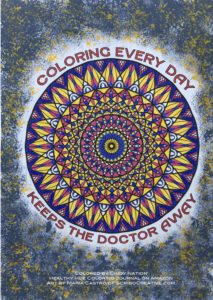


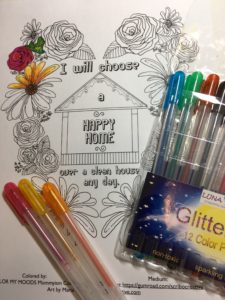


 Single-sided coloring and journaling pages make it suitable for different media, including colored pencils, markers, gel pens, pastels, crayons, and more. We recommend using the extra blank sheets provided as blotter pages to minimize bleed through.